
What a Home EV Charger Installation Actually Involves
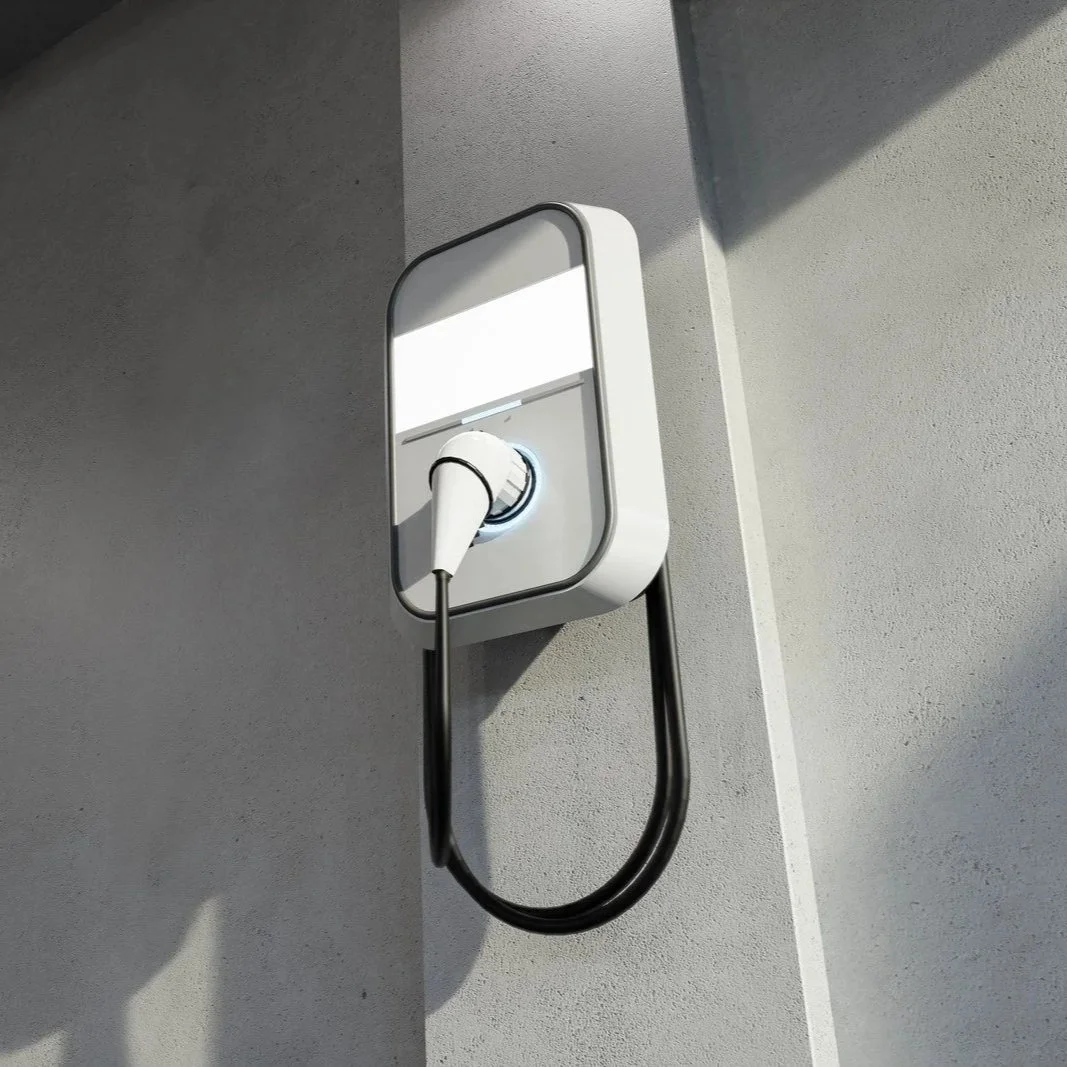
Most people picture an EV charger installation as a one-visit job: an electrician shows up, mounts a box on the garage wall, and drives off. In practice, it is a small project with a beginning, a middle, and an end, and each stage serves a purpose unrelated to paperwork for its own sake. Knowing the shape of that project ahead of time turns a mystery into a checklist and makes it much easier to tell a thorough electrician from one who is cutting corners.
Starting With a Look at the Whole Electrical Picture
Before anyone touches a wire, a good install starts with a walk-through of the house, not just the garage wall where the charger will hang. An electrician wants to see the main panel, note its age and condition, and get a feel for what else is drawing power on that same service: the air conditioning, an electric range or dryer, a pool pump, anything with a heavy appetite. That inventory matters because a charger does not run for a few minutes like a microwave. It draws steadily for hours at a stretch, often overnight, and it has to share the same incoming supply as everything else in the house.
This first visit also settles where the charger will actually live. A wall-mounted unit near the parking spot, ideally close to the panel to keep the wire run short, is the common setup, but a longer run to a detached garage or a carport changes the materials and the labor involved. The electrician is also checking the physical path the new wire would take, through a wall cavity, along a joist bay, or in conduit outside, since that path affects both the timeline and how invasive the work will be inside the house.
Checking Whether the Panel Has Room to Give
Somewhere in that first visit, the conversation turns to whether the panel actually has spare capacity for a new 240-volt circuit. This is where an electrician runs a load calculation: a tally of what the house already draws, weighed against what the main breaker is rated to carry. A charger adds a large, continuous demand on top of everything already spoken for, so the question is never just whether a breaker will physically fit in an empty slot. It is whether the service as a whole has room to carry the extra load, including on the day the air conditioning is working its hardest alongside the oven and the charger.
Most modern services handle a charger without any extra work beyond the new circuit itself. Older or heavily loaded panels sometimes need a secondary fix first, whether that means freeing up capacity, adding a subpanel for physical space, or in some cases replacing an undersized or aging panel outright. None of that is a foregone conclusion, and it is not something to guess at from the outside. It gets decided by the math, and that math is worth doing before any wire is bought, since it shapes the scope and the schedule of everything that follows.
Getting the Permit and Inspection Piece Right
A dedicated 240-volt circuit for vehicle charging is the kind of work that goes through a permit, and that step tends to make people nervous for no good reason. In practice, it means the electrician files paperwork describing the circuit before starting, and a local inspector checks the finished work afterward to confirm it was installed the way it was supposed to be. Think of it as a second set of eyes on work that will run for years without anyone looking at it again, tucked behind a panel cover and a wall.
The permit itself is usually handled by the electrician as part of the job, not something a homeowner has to research or file. What it means for the project practically is a small amount of built-in lead time between when work begins and when it is officially closed out, since the inspection has to be scheduled and completed. It also means the finished circuit and the charger connection are reviewed by someone outside the company doing the work, which is a real check, not a rubber stamp. None of this should feel like an obstacle. It is the difference between a circuit nobody outside the job ever verified and one that had a second look before it went behind drywall.
Running the New Circuit
Once the plan and paperwork are settled, the physical work is where most of the labor time is spent. The electrician runs a new dedicated circuit from the panel to the charger location: a matched pair of wires plus a ground, sized to the amperage the charger will draw. Because a charger pulls power continuously for hours rather than in short bursts, that circuit is built with a margin of safety baked in rather than sized to its bare minimum, and the wire gauge, the breaker, and the eventual receptacle or hardwired connection all have to agree with each other.
Getting that wire from the panel to the parking spot is the part that varies the most from house to house. A garage next to the panel might only need a short run through open framing or along a wall surface in conduit. A charger on the far side of the house, or in a detached structure, means a longer run, possibly buried conduit outside, and more time on site. This is also where an electrician makes the call between a plug-in setup, landing on a heavy-duty 240-volt receptacle so the unit can be unplugged or swapped later, and a hardwired connection straight into the circuit, which is often the choice for a permanent outdoor install or when the charger needs its full rated output.
Mounting and Connecting the Charger
With the circuit in place, the last stretch is mounting the charger itself and making the final connection. The unit gets fastened to a wall stud or a dedicated post at a height that keeps the cable within easy reach of where the car parks, with enough clearance that opening a car door does not put the cord in an awkward spot. For a hardwired unit, the electrician makes the final wiring connections inside the charger's junction box; for a plug-in unit, this is where the receptacle gets installed, and the charger simply plugs into it.
Before calling the job finished, a careful electrician tests the circuit itself: confirming the breaker trips properly under a fault, checking that the connections are tight (a loose lug on a circuit that runs for hours at a time is exactly the kind of thing that shows up later as a warm cover plate or a nuisance trip), and verifying the charger powers on and communicates with a test vehicle or a load tester. Outdoor installs get an extra look at weatherproofing around the connection point, since a charger mounted outside sees sun, dust, and temperature swings that an indoor garage unit never has to deal with.
A Quick Word on Level 1 Versus Level 2
Almost every home install described here is for Level 2 charging, the 240-volt setup that is fast enough to fill a battery overnight. It is worth knowing that Level 1, plugging the cord that came with the car into an ordinary wall outlet, needs none of this: no new circuit, no permit, and no electrician visit at all. It is simply much slower, typically adding a handful of miles of range per hour rather than the twenty-plus miles per hour a Level 2 setup delivers. Anyone deciding between the two levels is really deciding how much driving they do in a day versus how long they want to wait, and that comparison is a separate question from the installation steps above, which apply once Level 2 is the plan.
What the Timeline Actually Looks Like
Put the pieces together, and a typical project runs in three stages spread across a few weeks rather than a single afternoon. The initial visit and load calculation usually take an hour or two and can often happen on the same trip as an estimate. Filing the permit and waiting for it to be issued is the stretch that varies the most by jurisdiction, and it can add anywhere from a few days to a couple of weeks before work is scheduled, depending on how the local permitting office is running that month. The physical installation itself, running the circuit and mounting the charger, is usually done in a single day for a short, simple run and closer to two for a longer or more involved path.
The final inspection is scheduled after the work is complete and typically happens within a week or two, though it depends on the inspector's calendar rather than the electrician's. None of these stages can be skipped to save time without giving up the protection they exist to provide, but knowing they are coming means nobody is caught off guard by a gap between "the charger is mounted" and "the job is officially closed out."
Getting Your Home Ready Before the Electrician Arrives
A few things speed the process along without requiring any electrical knowledge. Clear the area around the main panel so it is easy to open and inspect, and clear the wall or post location where the charger will hang. Have the charger's specification sheet on hand, or at least know the make and model if it has already been purchased, since its amperage rating determines the circuit size before a single wire gets pulled. If the charging spot is far from the panel or on the far side of a finished wall, mentioning that up front lets the electrician plan the wire path and quote the job accurately on the first visit rather than discovering the detour partway through.
It also helps to know roughly how the household uses power day-to-day: how many large appliances run at once, whether there is a pool pump or a second AC unit, and whether solar or battery storage is already on the panel. None of that changes what a charger install fundamentally involves, but it does change how quickly the load calculation clears and whether any extra step gets added to the plan.
Frequently Asked Questions
You need to be available at the start so the electrician can access the panel and confirm the charger location, and again at the end to walk through the finished work and see it power on. Between those points, especially on a longer job, an electrician can often work without someone standing over the job the whole time, as long as there is a clear way to reach the panel and the mounting spot.
Yes, and it is a common choice for homes without an attached garage or with a driveway parking spot. An outdoor unit needs to be rated for exterior use and mounted with weatherproof connections, and the wire run typically goes through conduit rather than open framing. It adds a little to the labor since exterior conduit takes more time to install cleanly than an indoor run, but it does not change the permit or inspection steps.
It gets corrected before the job is considered complete, and this is a normal part of the process rather than a red flag. A failed inspection usually points to something small: a connection that needs tightening, a missing label, or a clearance issue at the panel. The electrician fixes the item, and the inspector takes another look, and the whole exchange typically adds only a few days to the schedule.
A charger has its own dedicated breaker and circuit, with nothing else connected to it. Sharing a circuit with another appliance would mean the charger's hours-long draw competes with whatever else is plugged into that circuit, which risks nuisance tripping and is not how these installs are done.
Some people are tempted to run the circuit themselves and bring in an electrician only for the final connection, but that usually creates more work rather than less. An electrician still has to verify every part of a circuit before standing behind it, and self-run wiring often needs to be partly redone to meet the permit inspector's expectations, which erases whatever time was saved.
Only if the load calculation shows the service is tight, in which case the electrician addresses that before or during the same visit rather than leaving it as a surprise. On a panel with healthy spare capacity, adding the charger circuit has no effect on the performance of the rest of the house's circuits.
Schedule a load calculation and site visit — the first step in mapping out your EV charger installation from panel check to final inspection. Efficient Electric serves Phoenix, Peoria, and the surrounding West Valley. Call (623) 810-9905.